Tuesday, June 18, 2013

Progress at the Projects

I just checked and it looks like I haven't posted about any house projects since we moved in! Oh dear, that was kind of the whole point of this blog.

Well, as you may remember if you've been keeping up with us, we spent May - Sept. 2011 getting the house just livable before we moved in. And then we had two things that put remaining projects on pause: 1. We had a baby, and 2. We had to save up $$$ for an expensive, city-mandated project. That project was completed in July 2012 and we're super happy with the results!


The garage floor had a huge crack, creating a slight valley. Also the front walk-way had a huge crack and we decided we wanted more of a patio. Apparently this picture below is the only one from last year that I have of the finished patio. Before we had it redone, the area where the chairs are now was just dirt and rocks, and a struggling, scraggly evergreen shrub.


After that project, we had the rest of summer to enjoy and use up extra funds. By fall we were able to get started on a few more inside projects, bit by bit. First we did some major shopping at Ikea for household items and furniture, and then we finally bought light fixtures for the bathroom and hallway. We STILL have just bare bulbs in the entry, bedrooms, and dining room. Partly because we haven't decided what we want yet.
Next we started on walls and trim. We are going by room, and the entryway was first. The stairway needed a new, up-to-code railing, we added new base boards, trim around the door, and painted the first walls since moving in! We LOVE the color and how everything is turning out.

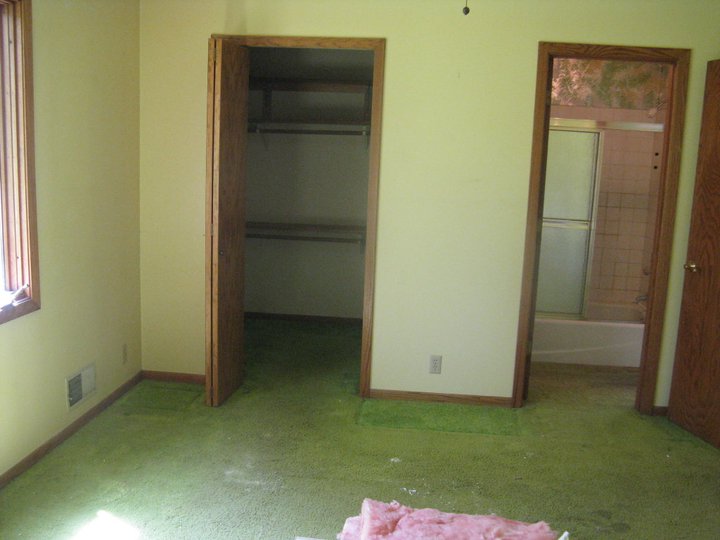
Before we moved in, after a fresh coat of heavy duty primer over EVERYthing:


Daddy's helpers:


After! Sherwin Williams paint color "Alpaca", in Behr paint on the walls:


So fall and winter went by while we slowly saved pennies for hardwood floors, and meanwhile continued painting walls and adding trim to the hallway, front room, and dining room. More pictures in the next post!


Monday, April 22, 2013

Summer Menu Planning

Attention! My blog address has changed and I didn't really warn anyone. Sorry about that!

I am working on menu planning again over here. Several weeks ago I added a 4th week to my Original Menu Plan, and renamed it "Winter Menu Plan".

Because of course, warm days are coming sooner or later. Right? RIGHT?? So today I sat down to come up with a menu plan that skips the soups, stews and casseroles, and has lots of grilling and salads. I also wanted it to be a bit more simple than my Winter plan. We are outside lots more in the summer so that means less time to spend in the kitchen. And it makes sense to repeat certain meals every week, like on softball nights when we usually picnic. And who wouldn't want hamburgers every week?

This is an act of complete faith of course. It's nearing the end of the month when we do our budget and I plan my shopping lists for the first week of the next month. And it's snowing. Again. They're saying 8" - 10" this time. I am planning on starting the new Summer Menu Plan in May, whether it is actually over 50° outside or not.

Ladies and Gents, my 4 Week Summer Menu Plan

Once again, please note that the shopping list portion is not exhaustive.

I do not always add side dishes in the menu plan. I like to keep on hand a variety of frozen veggies, salad ingredients, etc., and go with the flow. But we always have at least one veggie dish, often two.

Here is my CAR Salad (Carrot Apple Raisin) Recipe 

And lastly, this menu plan isn't as paleo/low-carb adaptable as my winter plan (hello pasta salad!) but I think I can still stay low-carb most days if I'm careful. Which is kind of important if I'm going to lose my last 25 pounds or so.

What are your favorite warm-weather recipes?

Monday, April 1, 2013

Coconut Fudge Bars - Paleo Even!


My birthday was last week, and once again I must share the recipe for my dessert of choice this year. Last year I made Boston Cream Pie, but this year I had some restrictions to work around. Not so much for myself, but for my kids. All three react to dairy at present, and the little girl also can't have gluten. No worries though! I've been pinning all sorts of "paleo" recipes for a while and had a few I wanted to try.

This recipe is based on two that I had com across on Pinterest or Google or somewhere:

They turned out AMAZING and were a huge hit with everyone!

Coconut Fudge Bars

Ingredients
Coconut base:
  •  3/4 cup almond flour (I buy mine at Trader Joe's)
  • 1 1/2 cup dried, shredded unsweetened coconut (ordered from Azure Standard co-op)
  • 1/4 cup plus 1-2 tablespoons raw honey 
  • 1/4 cup coconut oil 
  • 2 teaspoons vanilla extract
  • Pinch of sea salt
  • 1 egg white, beaten (optional - you can leave it out if you're sensitive to eggs but I added it so it would hold together well and not be crumbly)

Fudge Topping
  • 1/2 cup of virgin coconut oil, melted
  • 1/4 - 1/2 cup of honey, to taste (or other sweetener of choice; try date paste or Sucunat/Rapadura, or even maple syrup)
  • 1/2 cup of cocoa powder 
  • A dash of sea salt
  • 1/2 teaspoon vanilla
  • Optional: additional cocoa powder, to taste, and/or strongly brewed coffee - also to taste, about 2 - 4 tablespoons. I found that it was very sweet and honey-tasting with the half cup honey, so I tried balancing it out and this worked perfectly)
Directions:
For the base:
  1. Line an 8x8 pan with parchment paper, leaving it long enough to allow a "handle" over the side of the pan.
  2. In a bowl, combine the almond flour and coconut.
  3. In a separate bowl, mix together the honey, coconut oil, vanilla and salt until well blended.
  4. Add the honey mixture to the dry ingredients and stir until well combined; stir in egg white. 
  5. Press mixture into prepared pan. Use plastic wrap, a baggy over your hand, or a spatula to get it nice and even. Press it in pretty good.
  6. Bake at 200°F 40-50 min. or just until it's browning on the very edges. **Actually I turned the temp up a bit after a while so you might try 250 or even 300, shortening the time as needed.
  7. Cool in pan.
For the fudge topping:
  1. whisk coconut oil and honey (or other sweetener) in a bowl. If your honey is thick or your oil isn't melted yet, you can do this over a double boiler.
  2. Whisk in cocoa powder until smooth. Add salt and vanilla.
  3. Taste and adjust sweetener, cocoa, or add coffee as desired.
  4. Poor over cooled (or partially cooled, doesn't matter a ton) coconut base. Jiggle the pan to make sure it's even.
  5. Store in refrigerator until set and ready to serve! 
Makes about 16 bars.


Bonus Blessings

What we loved about this house when we first looked at it was the layout, and location. No surprises there, that's what most people look for. But for a while now I've been wanting to post about all the bonuses that we loved at first sight, and that have continued to give us warm fuzzies in the almost-two-years since it became ours.
These are in no particular order:
1. Real wood fireplace. Oh the cozy nights - and mornings! - we have spent enjoying the crackle firewood burning, the wood smoke smell, roasting hot dogs and marshmallows, the warmth while we play games or read and eat popcorn. We had a gas fireplace for 4 years at a previous home - and that is certainly worlds better than no fireplace! Very convenient, clean, and warm. But real wood sure brings things up a notch in ambiance.


A mantel to decorate is always nice too!

2. The Big Shed Out Back. LOTS of extra storage for all our camping, hunting, gardening, sports, and play equipment. It also creates a nice landscaping element, and I plan a cottage-y garden around it.

3. Upright freezer. It's old, but it works great! Actually, we already have a huge reach-in chest freezer (which we put in the garage just off the kitchen) but we use both, and eventually when we have a side of beef, a deer or two, frozen produce and milk to put up....all that freezer space will come in right handy.

4. Refrigerator. As in, an extra one in the basement. It doesn't always get used, but it's usage has been increasing lately as I more and more buy produce and eggs in bulk.

5. Walk-in closet in the Master bedroom. LOVE it! We've shared smaller closets for so long, this has been wonderful.

6. Rhubarb plants, Lilacs, and Ferns - always nice when a house comes with desirable plants.


7. Swing set - quite like the one I had as a kid!


8. Lots of shelving in the garage. BOY has that been handy, and John is a big fan of neat and tidy garages!

9. What do you call it when the bathroom has two doors? Our has one opening to the hallway, and one to our bedroom. Not a private master bath, but the next best thing. I love that extra convenience. This is obviously a before picture.


10. Fenced-in back yard - this just tickles me pink. I can see my backyard from my bedroom, my kitchen sink, my dining room table and my living room couch - and it's completely fenced in for the dog and kids. Now they just need to get better at keeping themselves entertained out there for hours on end. Maybe by then the deck will be built and I can laze in the sun while they frolic and play.


We are very very grateful.